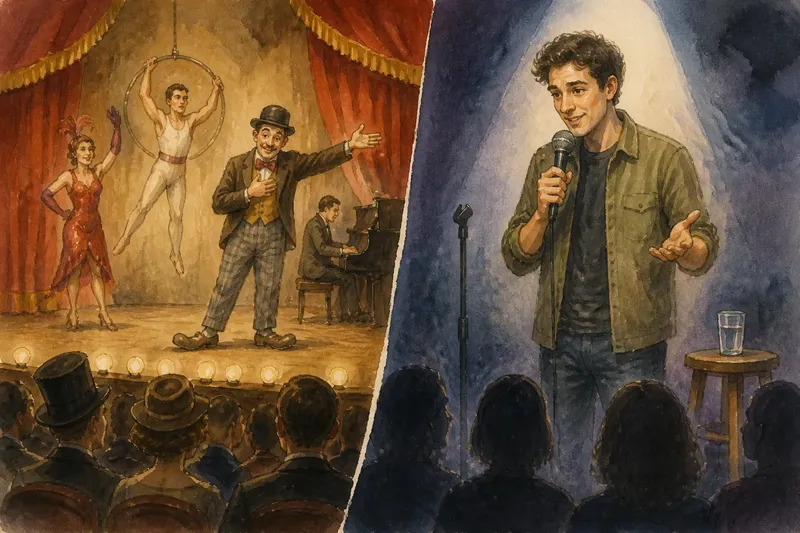
A Short Set, a Long Pause: Building a First Open-Mic Set
Building a first open-mic set is easier when each bit has a clear job, transitions stay brief, and pauses leave room for the audience to respond.
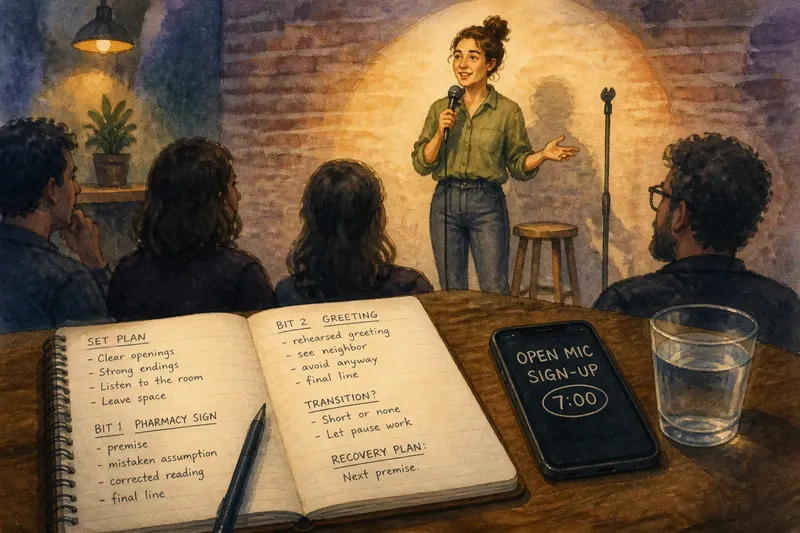
You’re at the kitchen table with a notebook open, a few lines that made a friend laugh, and an open-mic sign-up time circled on your phone. Building a first open-mic set is less about linking every idea than choosing material you can deliver clearly, then leaving enough room to hear the room.
For a first performance, concentrate on the handoffs: how you begin, how you finish a bit, and what you do when the next line slips away. These choices matter more than giving the set an elaborate theme. A little preparation can keep nerves from turning every pause into an excuse to talk.
What makes an opening bit easy to follow?
Start with an idea the audience can understand on its own, without a long explanation of who you are or how the story began. A brief premise gives listeners a place to stand before the joke turns. It also gives you a clear first sentence to return to if your attention wanders.
Read the opening aloud and listen for where a stranger might need extra context. If a line depends on a name, backstory, or detail that does not matter to the turn, remove it. Keep the information that makes the situation legible and let the audience do the rest.
Choose an opener you can say comfortably into a microphone. A sentence that looks clever on the page may be hard to deliver while you are adjusting to the room, the lights, or the sound of your own voice. Familiar language gives you more attention to spend on timing.
How should you arrange the bits?
Think of each bit as a separate task for the audience: understand a situation, follow its change, and hear the payoff. Arrange material by the attention it asks for, not by how long ago you wrote it. A story that needs careful listening may work better before a rapid run of short observations.
Mark the first line and the last line of each piece on a printed page or in a notes app. Those markers help you see where one premise is complete and the next begins. If you need a paragraph of explanation to connect two bits, let them stand apart instead.
Imagine you have written one bit about misreading a pharmacy aisle sign and another about rehearsing a greeting before entering your apartment building. The first starts with the sign, turns on your mistaken assumption, and ends with the corrected reading; the second begins with the practiced greeting and ends when you avoid the neighbor anyway. If you can state both premises without referring to the other, keep them as separate bits, with a pause or a brief change of subject between them. The tradeoff is simple: you give up a forced connection and let each idea arrive cleanly.
How long should you pause after a laugh?
Wait until the audience’s response has begun to settle before starting the next line. A laugh can be brief or carry on; a rigid count does not account for the room in front of you. Keep your attention on the listeners rather than rushing to recover the pace you rehearsed alone.
A pause also helps mark the end of a bit. After a final line, let the idea land, then make a small shift in posture or attention before the next setup. You do not need to fill that space with a comment about the silence.
Use a phone voice memo to notice if you regularly rush the line after a laugh or leave a long, uncertain gap before a new premise. Treat the recording as a reminder of your habits, not a script for reproducing silence. In the room, listen and adjust.
What should you say between bits?
Usually, less than you think. A transition can identify a new situation or give the audience a moment to recognize a shift, but it does not need to explain the previous joke or announce a grand theme. If the next bit is clear on its own, a pause may be enough.
Write a bridge only after you know the two bits it separates. Say it aloud, then remove any words that sound like an explanation for the audience’s benefit rather than something your comic voice would say. If the bridge draws more attention than either bit, shorten it or cut it.
For the pharmacy and greeting material, a plain change of setting might be enough: “The next time I had to talk to someone, I came prepared.” If that line sounds like a new joke rather than a handoff, skip it and start the next premise directly. The point is not to prove the bits belong together; it is to keep the next idea understandable.
How can you rehearse without locking every line in place?
Practice the order and the turns, not an exact set of vocal stresses. Learn each setup, the change that makes it funny, and the bit’s ending. That gives you a route through the material while leaving room to respond to laughter.
Stand up and speak toward a phone or hairbrush held like a microphone. Record one run, then listen for a swallowed setup, a rushed punchline, or a transition that sounds like an apology. Ask a trusted listener a focused question, such as where the situation stopped being clear, instead of asking for a general verdict.
Prepare a recovery point for each bit. If a sentence disappears, move to the next premise you know rather than narrating the mistake or trying to reconstruct every word. That choice may shorten a story, but it keeps the audience oriented.
What do first-time open-mic performers ask?
Should you tell the audience you are nervous?
Only if you have a line about the nerves that belongs in the set. Otherwise, begin with the first premise you prepared. Naming your anxiety can invite the room to focus on it instead of the material.
What if a joke gets no laugh?
Continue to the next clear line without explaining what the audience missed. Leave a natural pause if the bit has ended, then begin the next premise. A quiet response does not tell you by itself which part of the writing needs revision.
Should you improvise a transition?
Not just to avoid silence. If you have a short bridge that sounds natural, use it; if not, let the pause separate the bits. Rehearsing both the ending and the next opening can make that choice easier onstage.
What should you confirm with the host?
Ask how sign-up works, how the microphone is handled, and what the room expects for starting and ending. Confirm the set format and any rules that apply to your material or recording. If an instruction is unclear, ask before your turn rather than guessing onstage.
What should you change after the performance?
Soon afterward, write down what you can recall specifically: a setup you stumbled over, a laugh that covered the next sentence, or a place where you lost your order. Keep observations separate from judgments. “I started the next line while people were still laughing” points to an adjustment; “the set was bad” does not.
Change one part at a time. If you revise the setup, the ending, and the handoff together, you will have trouble knowing which change made the material clearer. Keep the next run focused on the moment you noticed, and let the rest of the set stay familiar.
When building a first open-mic set, remember that a clean ending and a listening pause can do more than an extra connecting line. Once you know the next premise and where it begins, you can leave the silence alone—and give the audience a chance to catch up.